Build Your Blog on Systeme.io
Once your domain is connected to systeme.io and the status says Ready to use, it means your custom domain is now fully connected and ready for blogging. This is an exciting step because now you can finally start building your blog and preparing it for publishing content online.
One thing I personally like about systeme.io is how beginner friendly the process feels compared to many other blogging platforms. Instead of installing software, setting up hosting, and managing plugins, systeme.io allows you to create your blog directly from one dashboard.
At this stage, your goal is simple:
Create your blog
Connect your custom domain
Choose a blog template
Set up your blog structure
Once your blog is created, you can start customizing it and preparing your first content.
Open the Blogs Section
To start building your blog, log into your systeme.io account and open your dashboard.
From the dashboard menu:
Go to Sites
Click the dropdown menu
Select Blogs

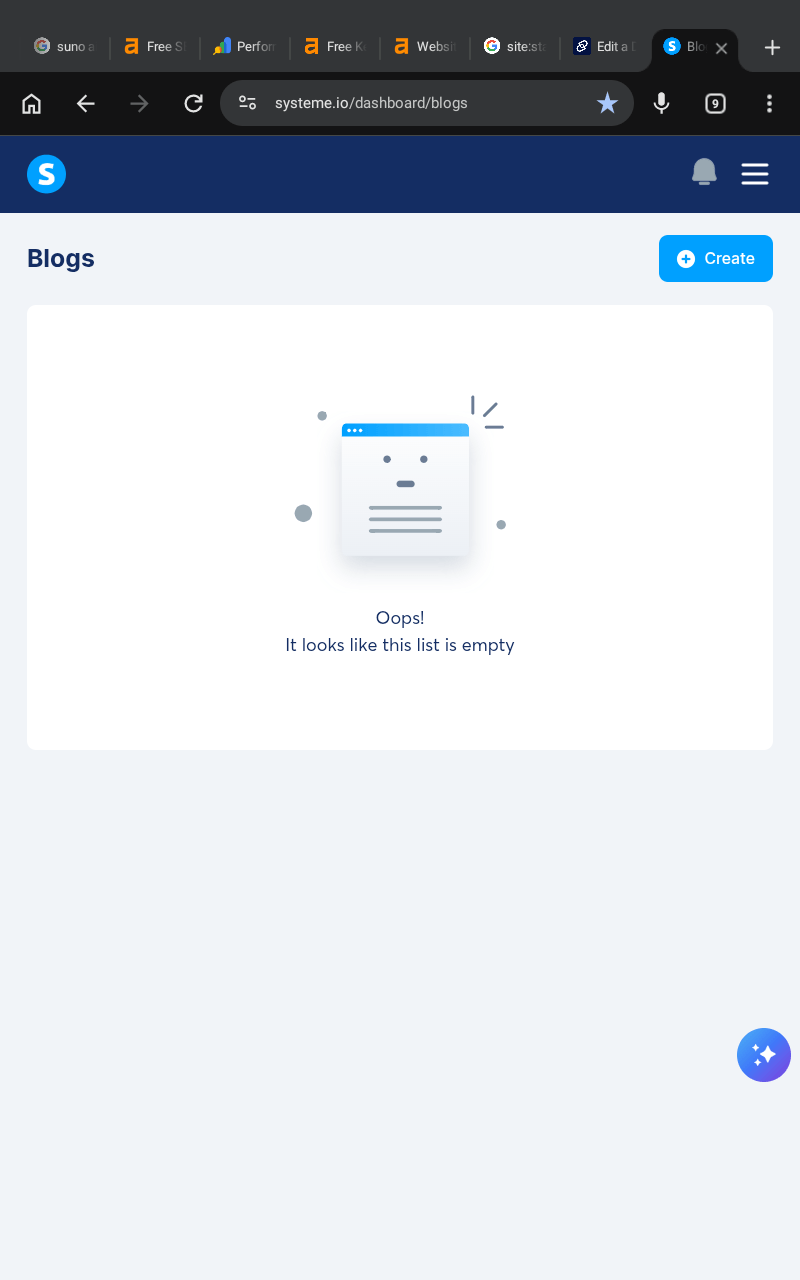
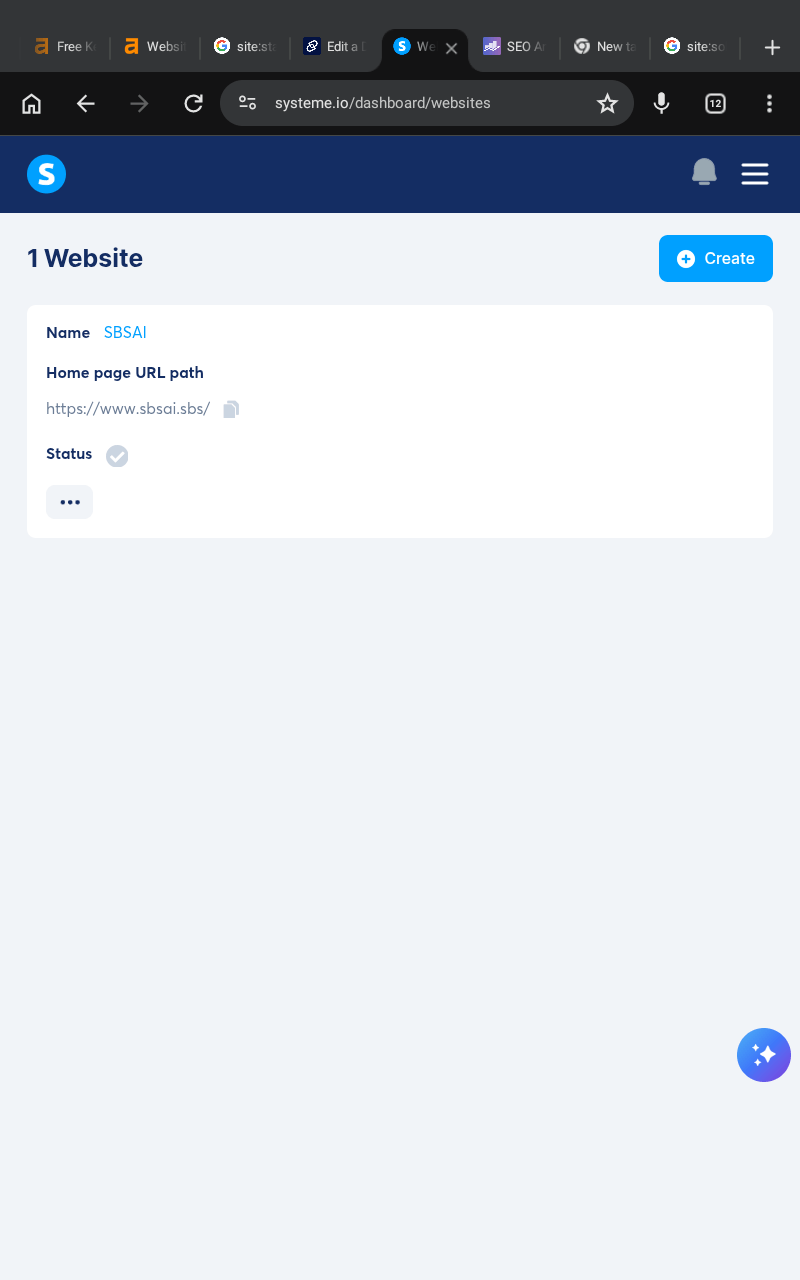
You will now be redirected to the Blogs section.
This is where you can create, manage, and edit all your blogs inside systeme.io.
If this is your first blog, the section will likely be empty until you create one.
Create a New Blog
Inside the Blogs section:
Click the Create button
A popup window will now appear with several fields asking you to fill in your blog information.
This step is very important because these settings help define your blog structure and web address.
Take your time and carefully complete each section.
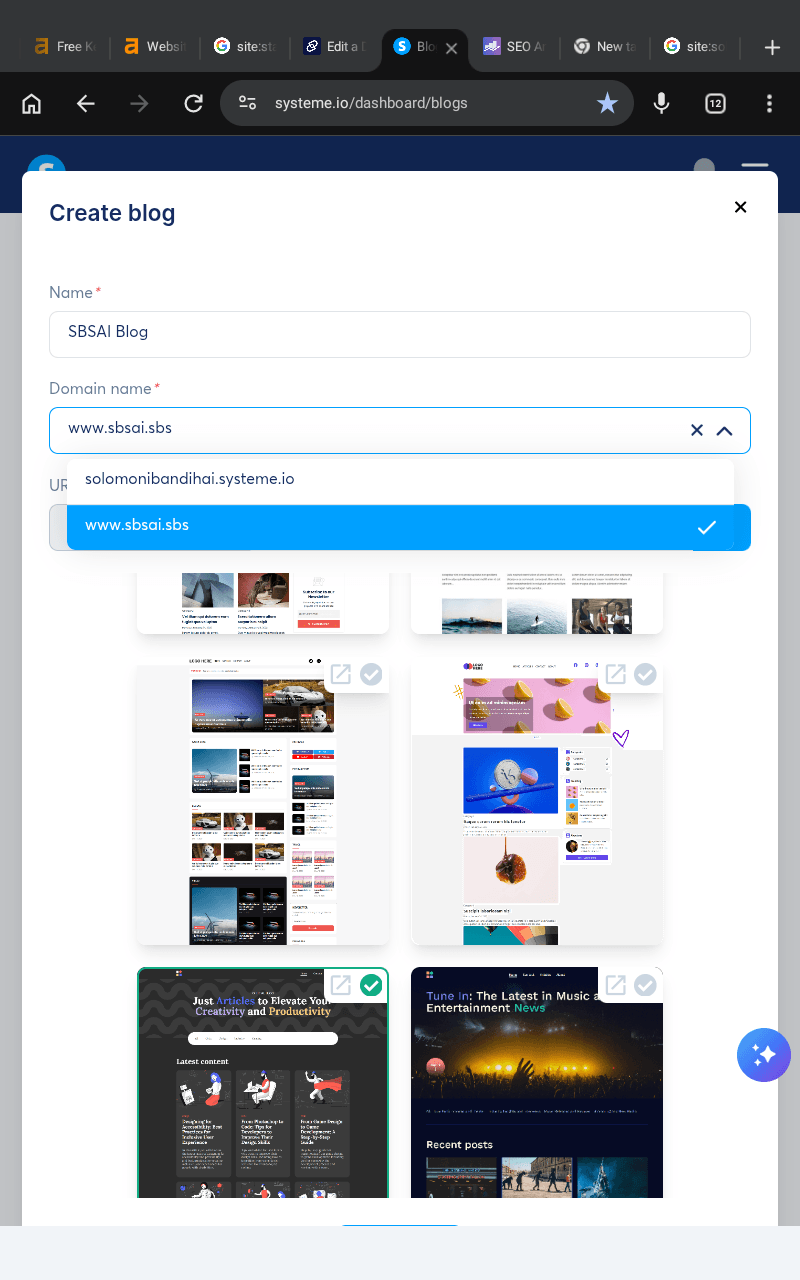
Add Your Blog Name
The first field you will see is:
Name
This is where you add your blog name.
For example:
SBSAI Blog
Sheila Templates
Fashion Whispers
Apple Funnel
Cook At Home
Your blog name helps you organize your projects inside systeme.io and represents your blog brand online.
Try to keep the name consistent with your domain name and niche for better branding.
Example:
Blog Name: SBSAI Blog
Domain: sbsai.sbs
Consistency helps your blog look more professional and easier for readers to remember.
Select Your Domain Name
The next important section is:
Domain name
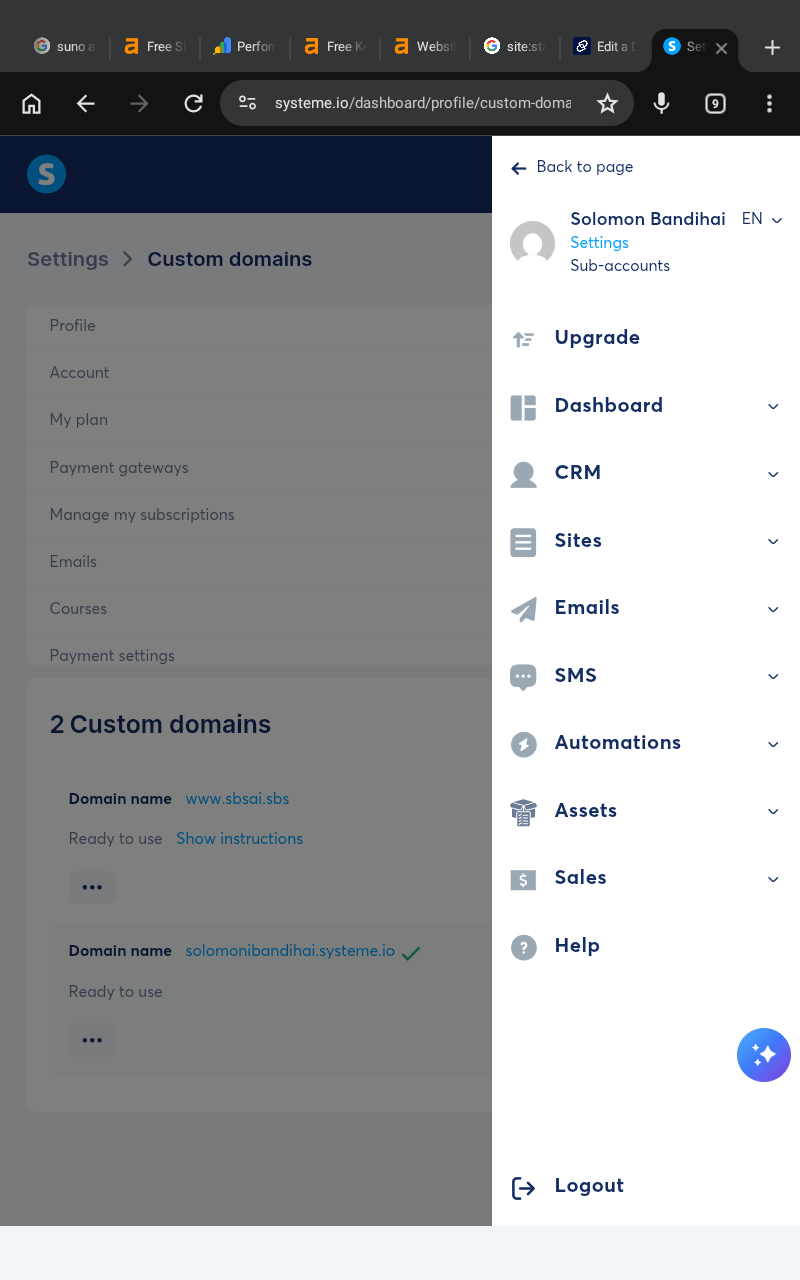
Here, you must choose the custom domain you already connected to your systeme.io account earlier.
For example:
Simply click the dropdown field and select your connected domain.
If your domain does not appear, make sure the status inside your custom domains section says:
Ready to use
Only validated domains can be selected for blog creation.
Add a URL Path
The next field is:
URL Path
This step is important because systeme.io currently requires a blog URL path when creating blogs.
A URL path is the extra section added after your main domain address.
Examples include:
/blog
/articles
/topics
/news
For example:
https://www.rosemichael.com/articles
https://www.fashionwhispers.net/topics
Your blog content will live inside that path structure.
Important Note About URL Paths
Currently, systeme.io does not allow blogs without a URL path.
This means you cannot simply use:
For blog posts directly.
Instead, your blog will normally look like:
yourdomain.com/blog
However, if you want to create a website homepage without a path, you can create it separately using the Websites section inside systeme.io.
To access website creation:
Go to Sites
Open dropdown menu
Click Websites
This allows you to create landing pages, homepages, and custom website pages separately from your blog.
Choose a Blog Template
After adding your blog information, the next step is choosing a blog template.
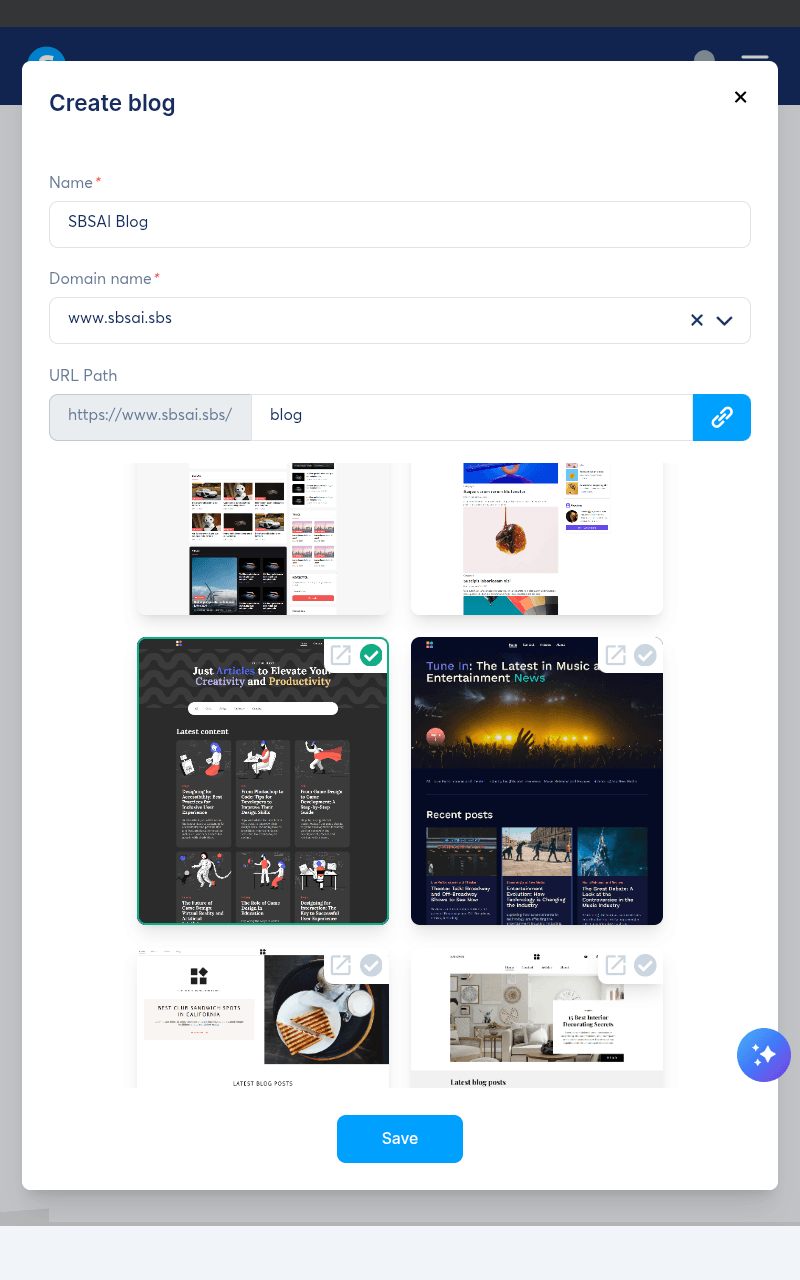
Systeme.io provides many ready made blog templates that beginners can use immediately without coding.
Templates help you:
Save time
Create professional designs faster
Organize blog layouts easily
Improve visual appearance
Before selecting a template, take time to preview the available designs carefully.
Different templates have different styles, layouts, menus, fonts, and structures.
Some templates work better for:
Personal blogs
Business blogs
News blogs
Recipe blogs
Affiliate blogs
Portfolio blogs
Choose one that matches your niche and content style.
Important Template Warning
One very important thing beginners should understand is this:
Once you select a blog template and create your blog, you cannot switch to another template later inside systeme.io.
This means your selected template becomes your blog foundation.
You can still customize and edit many design elements later, including:
Colors
Fonts
Images
Layout sections
Headers
Menus
However, the main template structure itself cannot be replaced unless you:
Delete the blog
Start over completely
Create a new blog
That is why it is important to spend a few minutes previewing templates before making your final decision.
Tips for Choosing the Right Blog Template
When selecting a template, focus on simplicity and user experience instead of choosing something overly complicated.
A good blog template should:
Look clean and organized
Be easy to navigate
Work well on mobile devices
Make blog posts easy to read
Match your niche style
For example:
A home decor blog may look better with elegant visuals
A tech blog may work better with modern layouts
A recipe blog may need large image sections
A personal brand blog may focus more on storytelling
Remember that your content matters more than having the most complicated design.
Simple blog layouts usually perform better because readers can focus more easily on the content.
Save and Create Your Blog
Once you finish:
Adding your blog name
Selecting your domain
Creating your URL path
Choosing your template
Click the Save button.
Systeme.io will now automatically generate your blog structure and prepare it for editing.
Congratulations, your blog is now officially created.
You now have:
A custom domain
A live blog structure
A professional template
A blogging platform ready for publishing
The next step is customizing your blog layout, categories, pages, menus, and overall design to make the blog truly your own.
Some links on this website may be affiliate links, which means SBSAI may earn a commission at no extra cost to you if you purchase through those links. We only recommend tools and services we believe are useful for beginners and content creators. Please read our Affiliate Disclosure and Privacy Policy pages to learn more about how this website works and how your information is handled.
SBSAI is a beginner-friendly blog focused on AI tools, AI prompts, blogging tips, and digital marketing strategies. We share practical guides, helpful resources, and simple tutorials to help creators and beginners use AI to create content, grow online, and build digital businesses using tools like systeme.io and chatgpt.
Newsletter
Subscribe now to get daily updates.