
Create and Verify Your Systeme.io Account
Now that you have your niche, blog name, and domain name ready, the next step is creating your account on systeme.io. This is the platform we will use throughout this guide to create and manage your blog.
Systeme.io is an all in one marketing platform that allows beginners to build blogs, websites, funnels, email campaigns, automations, online stores, and more from one dashboard. One reason I recommend it for beginners is because it removes many technical steps that usually confuse people when using platforms like WordPress.org.
With WordPress, beginners normally need to buy hosting separately, install WordPress manually, manage plugins, and handle updates. However, with systeme.io, many of those tools are already included inside the platform, making the setup process much simpler.
You can create your Systeme.io account here and follow the setup process step by step.
Create Your Systeme.io Account
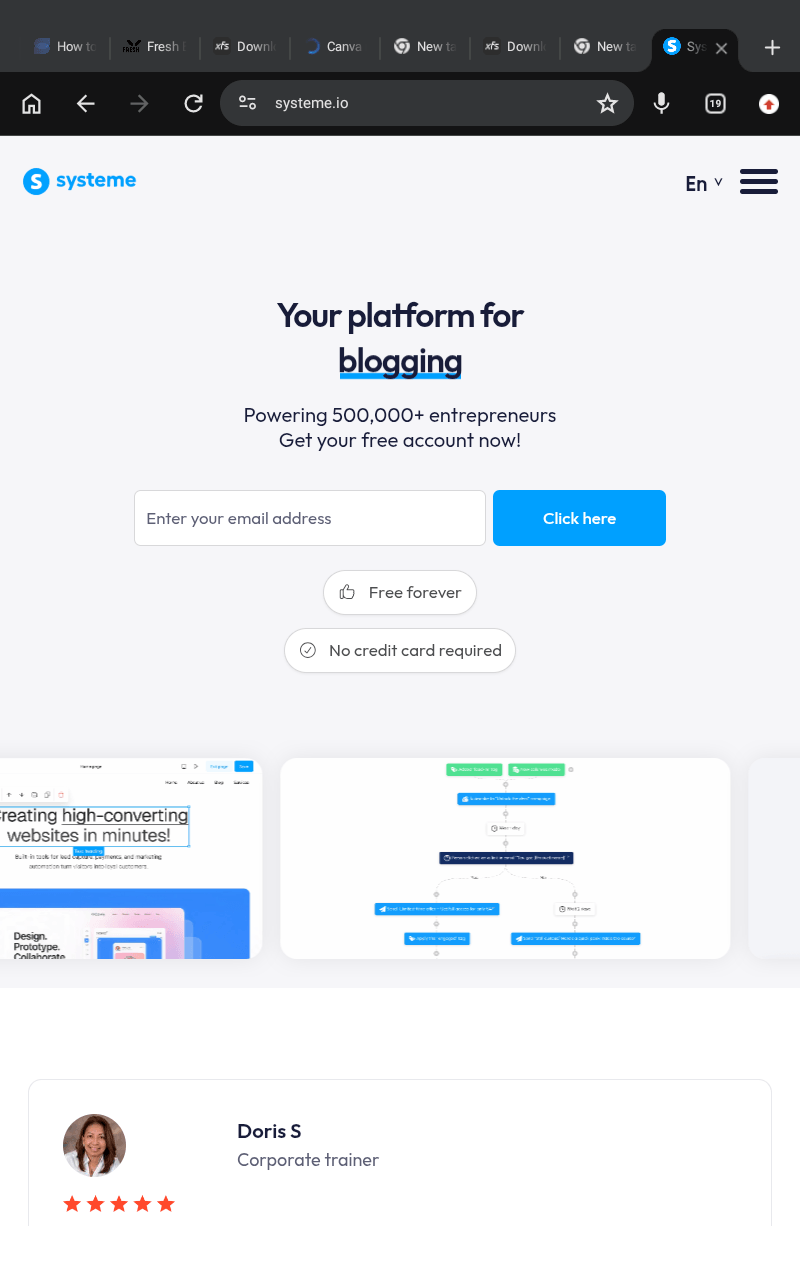
The first step is visiting the official Systeme.io website.
Once you arrive on the homepage, you will see a field asking for your email address. Enter the email you want to use for your blogging business and account management.
After entering your email:
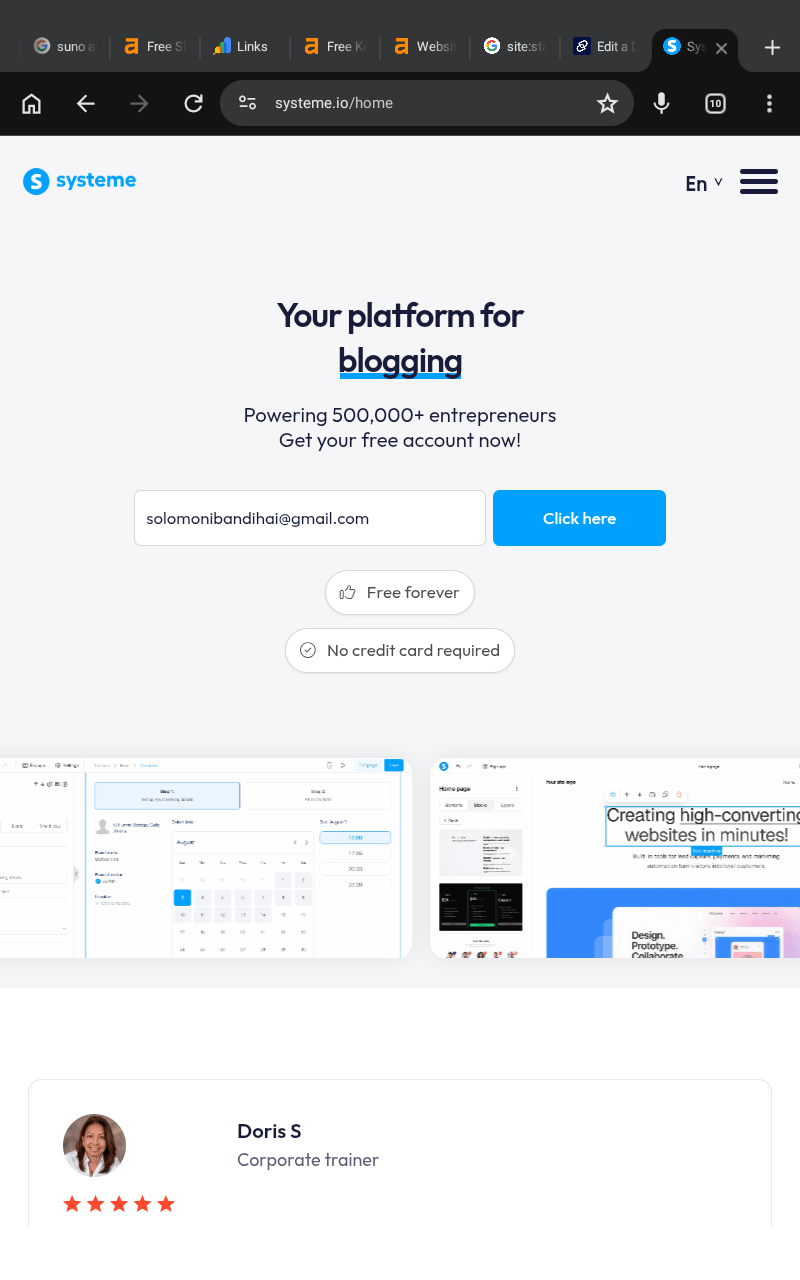
Click the sign up button
Wait for the confirmation email
Open your inbox
Follow the verification instructions
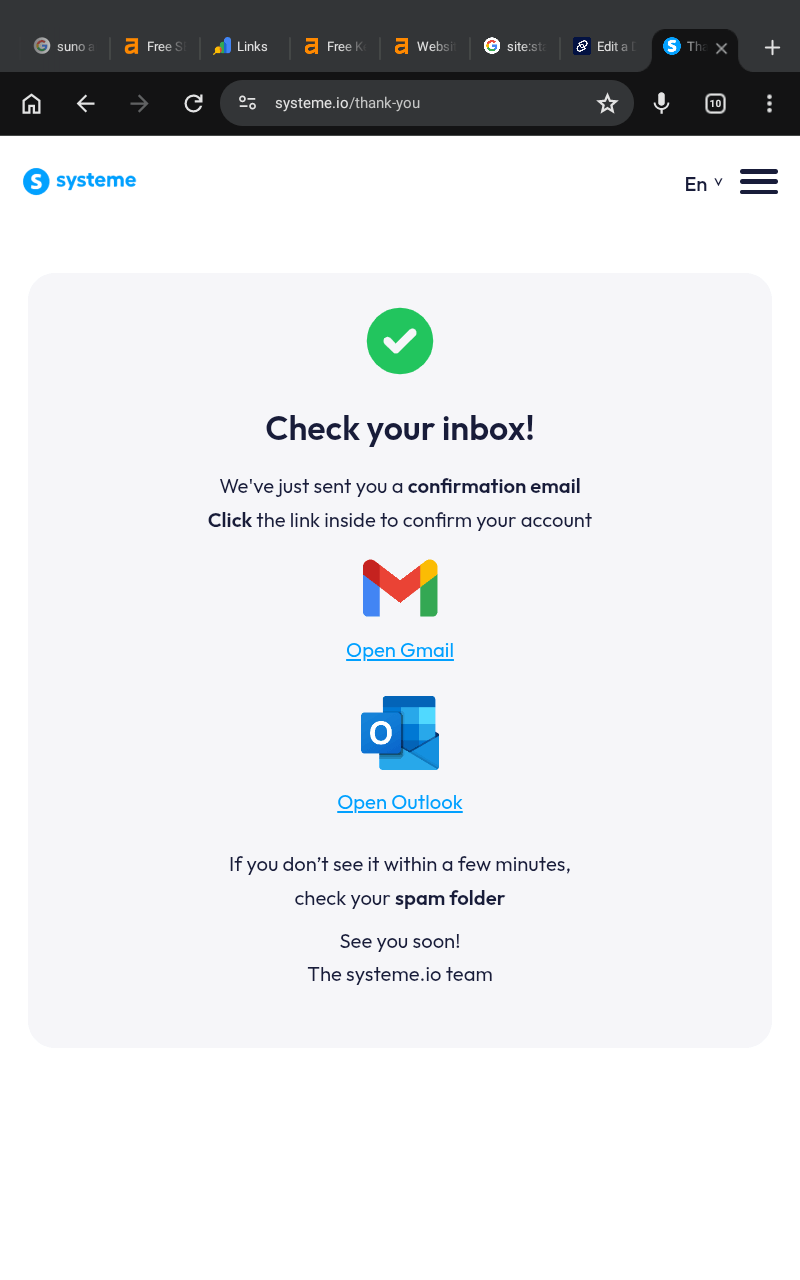
Systeme.io will send you an email containing instructions to verify and activate your account.
If you do not see the email immediately, check:
Spam folder
Promotions tab
Junk mail folder
Sometimes emails may take a few minutes to appear.
Verify Your Systeme.io Account
After opening the email from systeme.io, click the verification link provided in the message.
You will then be redirected to a page where you must complete your account setup by adding your personal information.
You will normally need to:
Enter your first name
Enter your last name
Create a secure password
Confirm your password
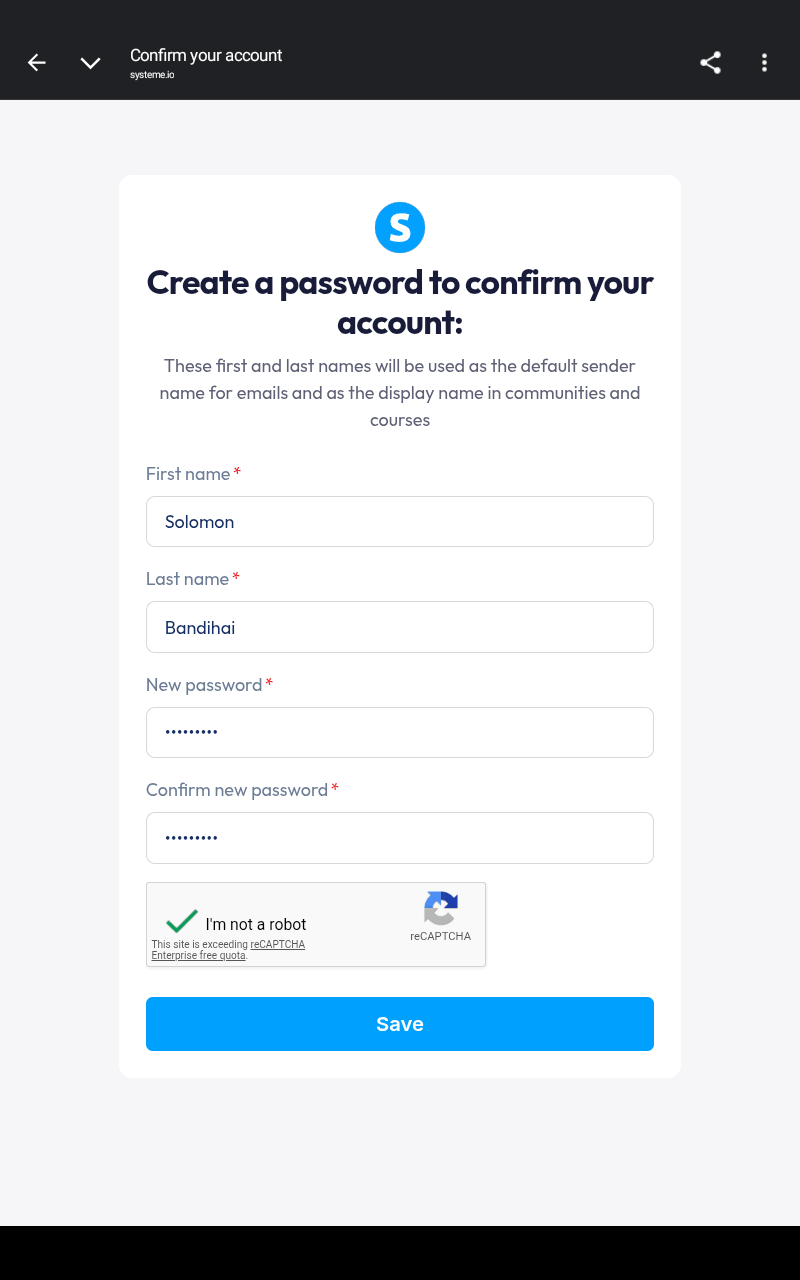
Make sure you choose a password that is strong but easy for you to remember.
Once complete, your account will officially become active.
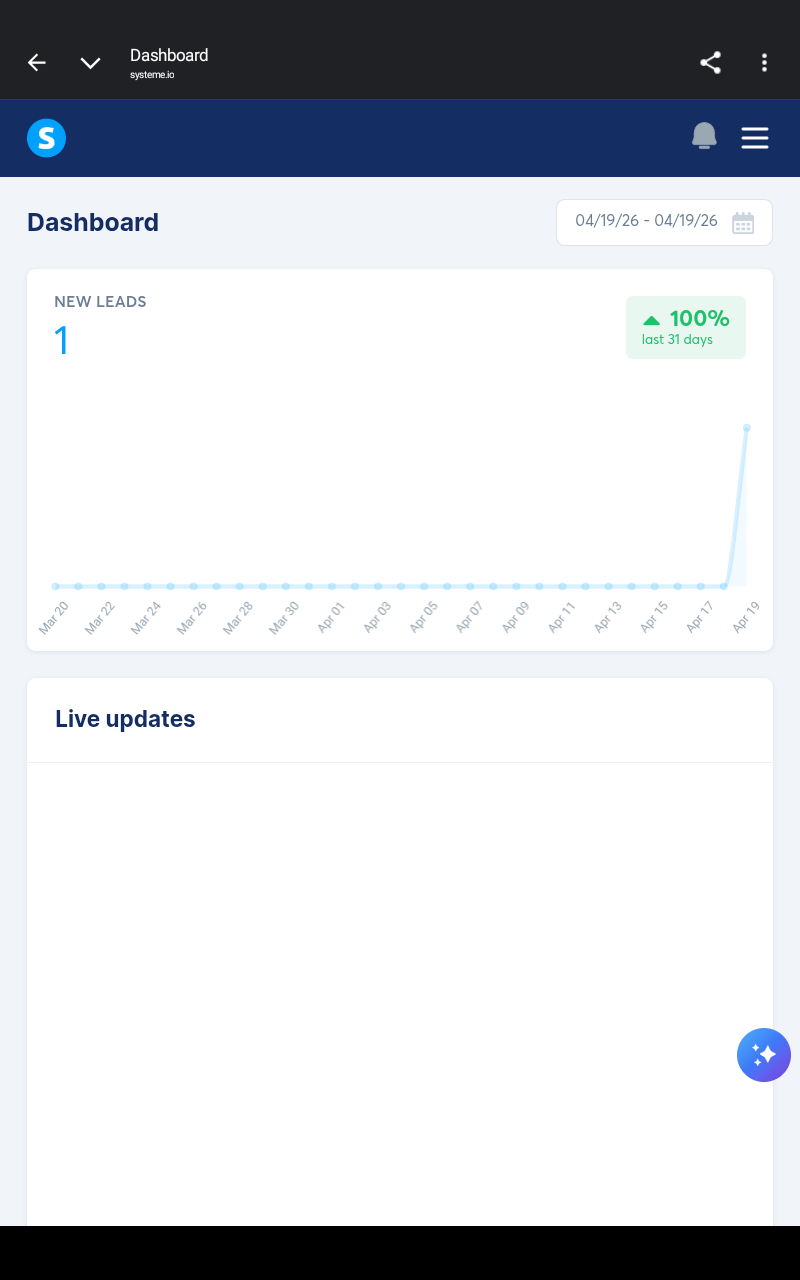
After verification, you will be redirected directly to your systeme.io dashboard, which is the main control center where you will manage your blog, pages, email marketing, automations, and other tools.
Explore Your Systeme.io Dashboard
Your dashboard is where you will control almost everything related to your online business and blog.
Inside the dashboard, you will find tools like:
Blog builder
Website builder
Funnel builder
Email marketing
Workflow automation
Contacts management
Sales tracking
Templates
At first, the dashboard may look overwhelming, but do not worry because you only need a few important sections to start your blog.
The next important step before creating your blog is connecting your custom domain name.
Add Your Domain Name to Systeme.io
If you already purchased your domain name, now is the time to connect it to your systeme.io account.
This step is important because your blog should use your custom domain instead of a free systeme.io subdomain.
For example:
yourblog.com
Looks more professional than:
yourblog.systeme.io
Using a custom domain improves branding, trust, and long term growth opportunities.
Important Note
It is highly recommended to connect your domain name before creating your blog if you want to use a professional custom domain.
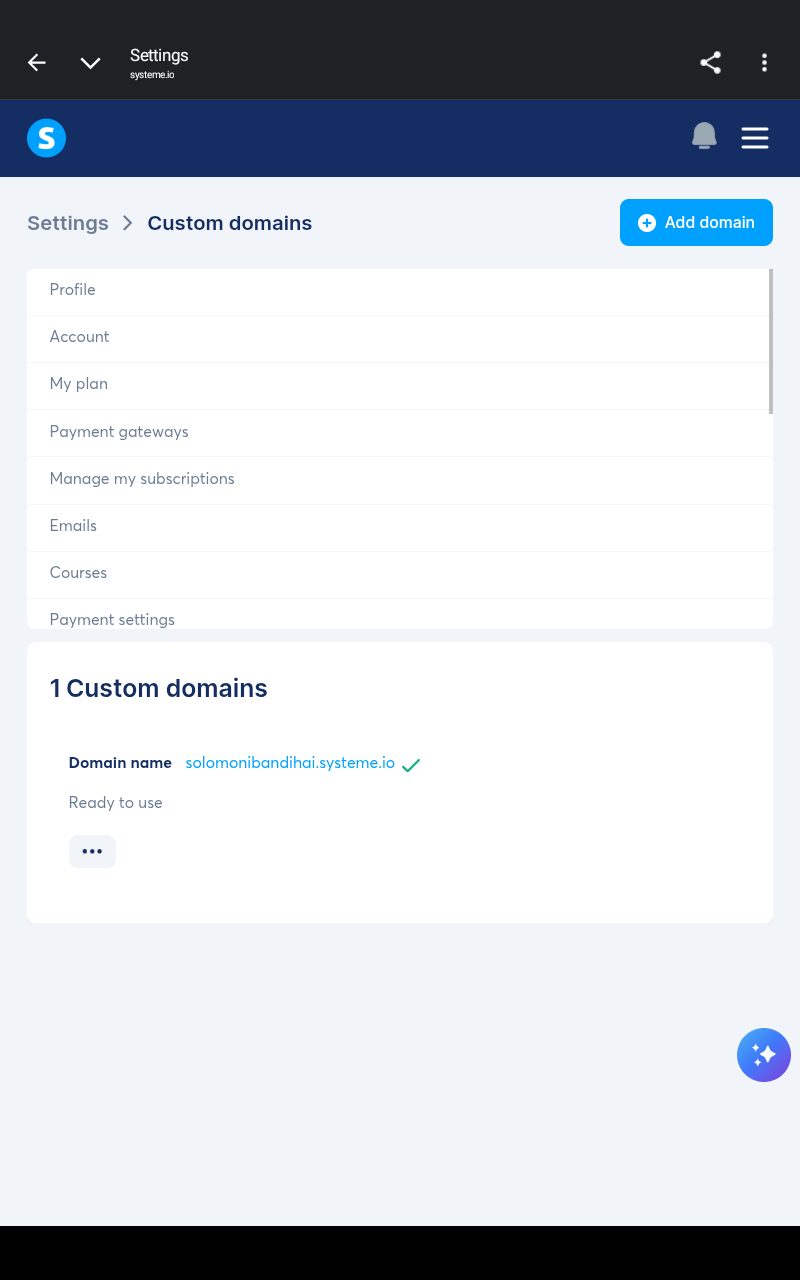
Open Custom Domain Settings
Inside your systeme.io account:
Go to the top right corner
Click on Settings
Open the settings menu
Click on Custom domains
You will now be redirected to the Custom Domains section.
This is where you will connect and manage your domain names.
Add Your Domain
Inside the custom domains section:
Click the Add domain button
A popup window will appear asking you to enter your domain name.
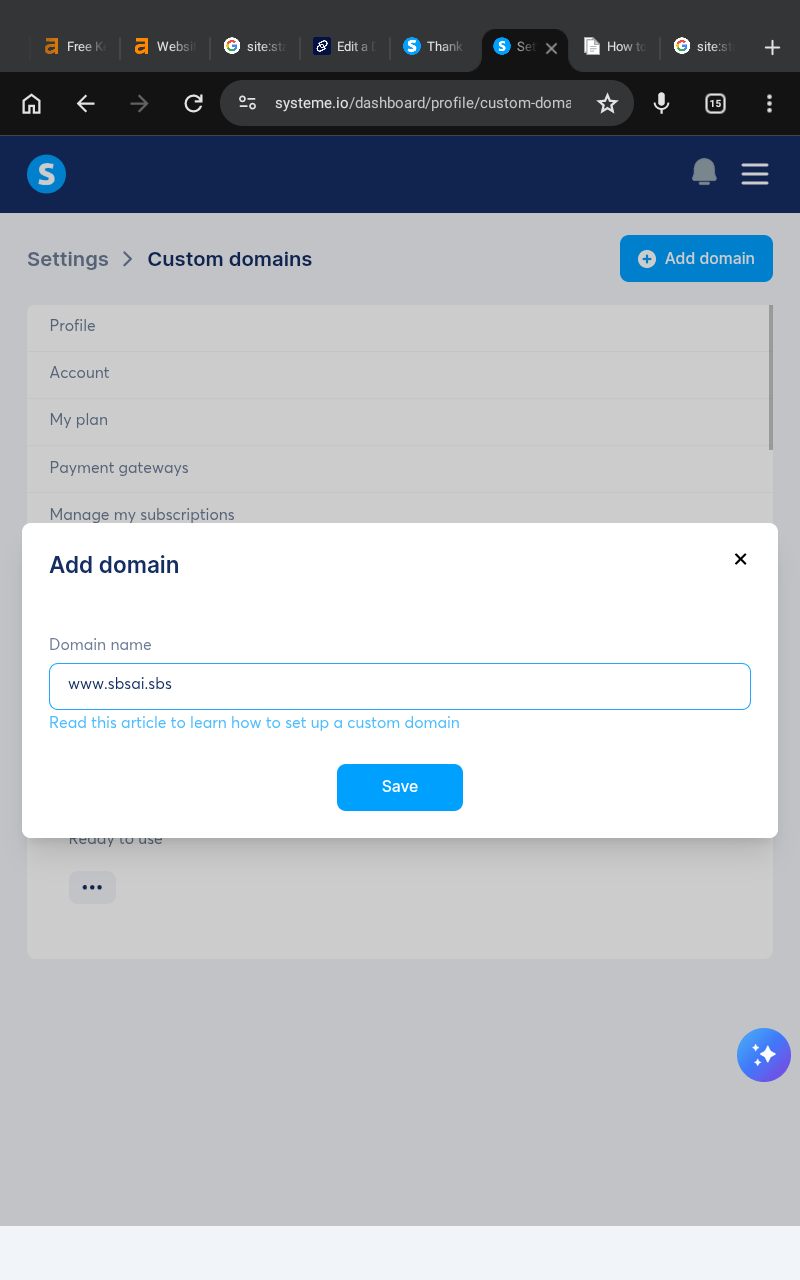
When typing your domain, make sure you include www at the beginning.
Examples:
After entering your domain:
Click the Save button
Systeme.io will now generate important DNS configuration information you must add to your domain registrar.
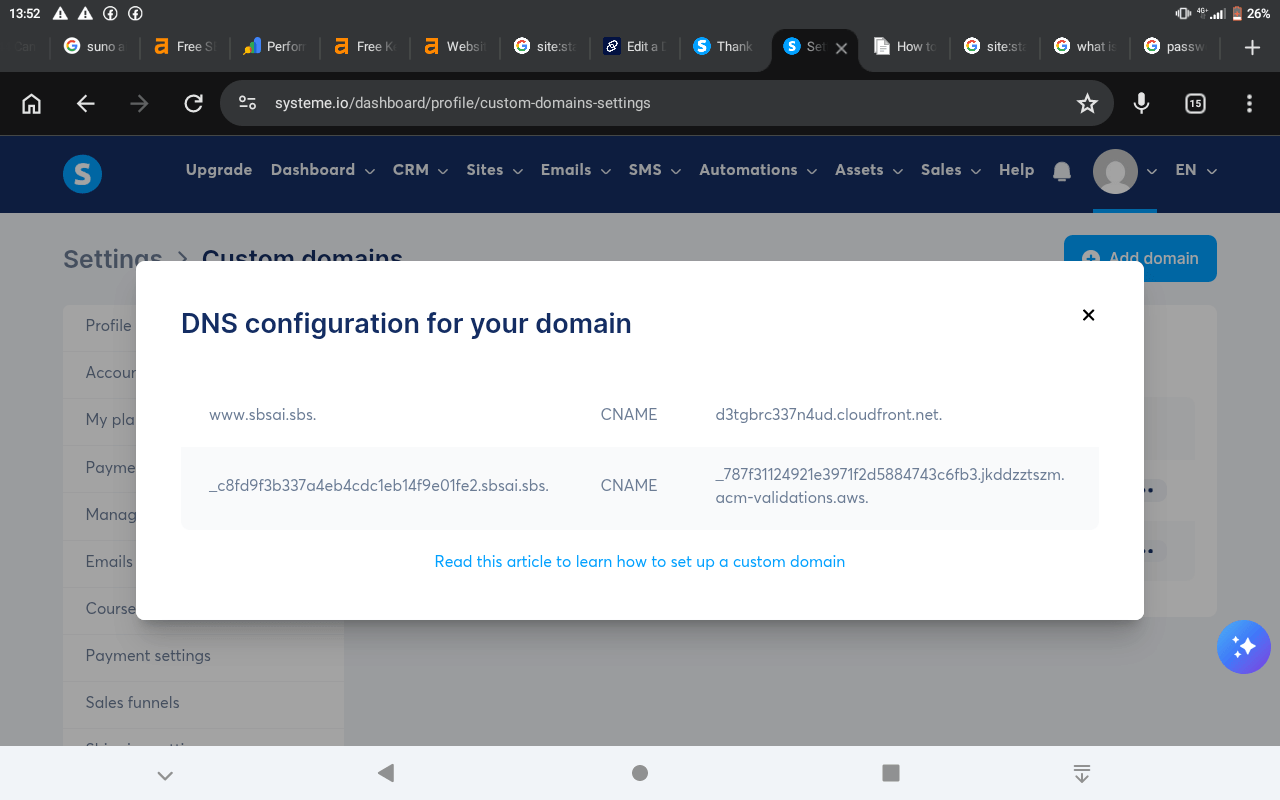
DNS Configuration Example
After saving your domain, systeme.io will display DNS records similar to these examples:
CNAME
d3tgbrc337n4ud.cloudfront.net.
And another verification record:
_c8fd9f3b337a4eb4cdc1eb14f9e01fe2.sbsai.sbs.
CNAME
_787f31124921e3971f2d5884743c6fb3.jkddzztszm.acm-validations.aws.
These records are used to connect your domain properly to systeme.io.
Add DNS Records on Dynadot
If you purchased your domain on Dynadot, you now need to add those DNS records inside your domain settings.
Follow these steps carefully.
Open Domain Management
Inside your Dynadot account:
Log into your account
Click Manage Domains
Find your domain
Scroll down to DNS Settings
Click the arrow symbol to open DNS settings
A popup will appear allowing you to add DNS records.
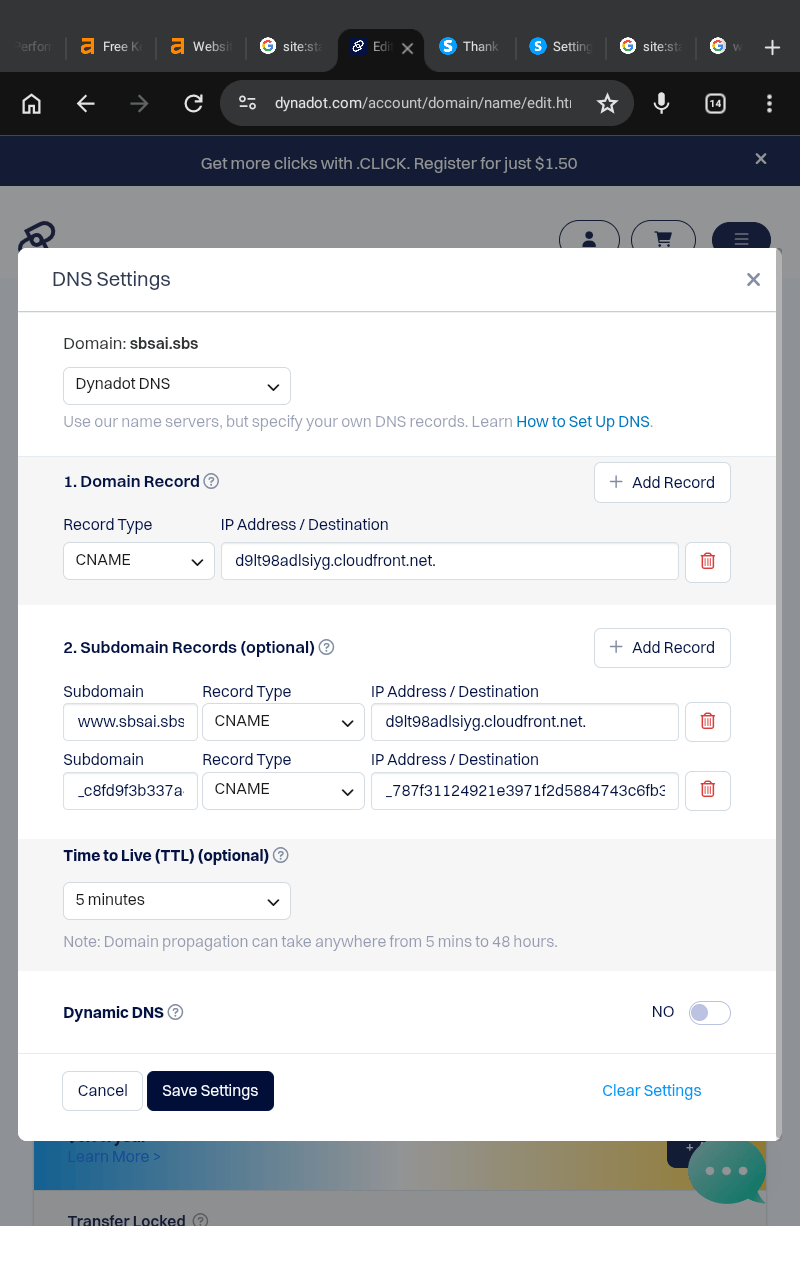
Add the Main Domain Record
Under Domain Record, add the following:
Record Type: ANAME
Destination: d3tgbrc337n4ud.cloudfront.net
This connects your main domain to systeme.io.
Add Subdomain Records
Next, add the subdomain records.
First Subdomain Record
Subdomain: www
Record Type: CNAME
Destination: d3tgbrc337n4ud.cloudfront.net
Verification Record
Subdomain: _c8fd9f3b337a4eb4cdc1eb14f9e01fe2
Record Type: CNAME
Destination: _787f31124921e3971f2d5884743c6fb3.jkddzztszm.acm-validations.aws.
After adding all records:
Click the Save Settings button
Your DNS configuration is now complete.
Wait for Domain Validation
After saving your DNS records, return to your systeme.io custom domains section.
Your domain status will likely show:
Pending validation
Do not worry because this is normal.
Domain verification may take several minutes or even a few hours depending on your domain registrar and DNS propagation speed.
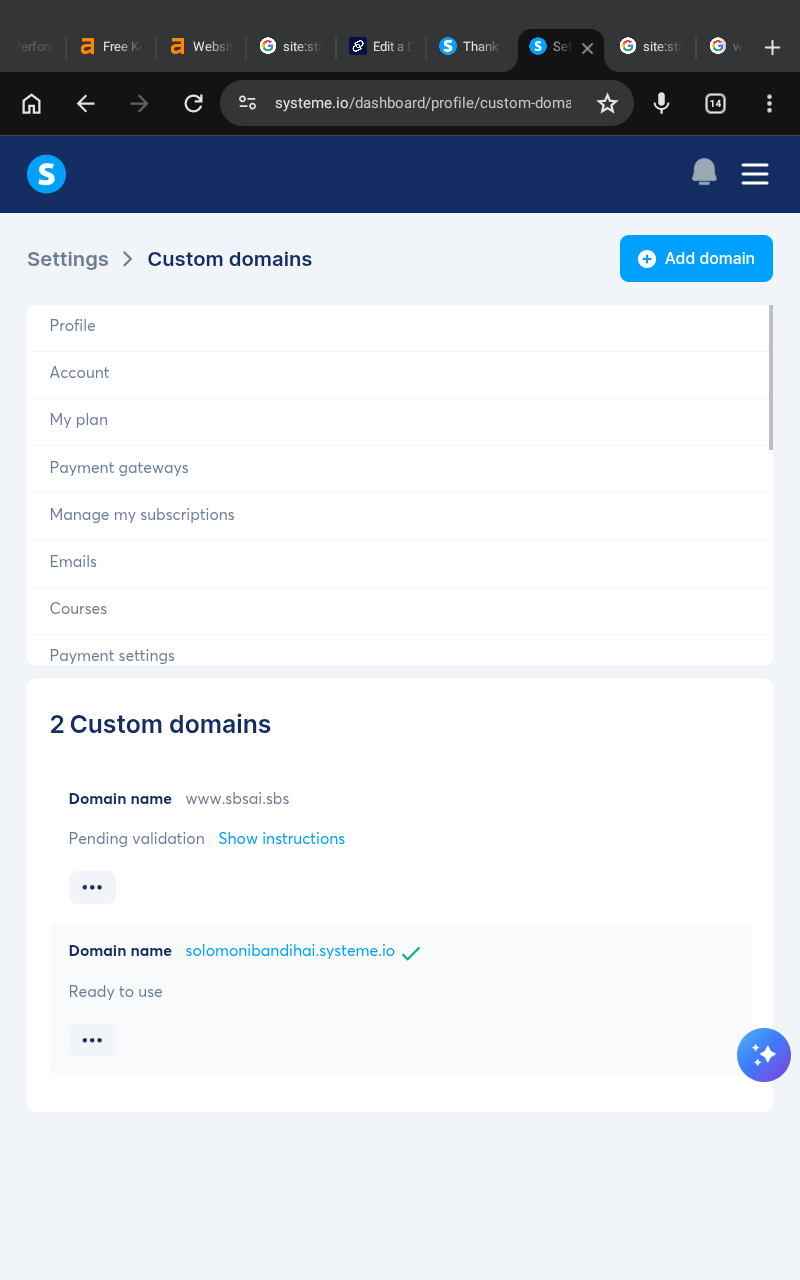
Eventually, the status will change from:
Pending validation
To:
Ready to use
Once the status changes to Ready to use, your domain is successfully connected and ready for blogging.

If you need additional help, you can also read the official Systeme.io domain connection guide for more detailed instructions.
Now that your account and domain are fully connected, the next step is creating your blog inside systeme.io.
Some links on this website may be affiliate links, which means SBSAI may earn a commission at no extra cost to you if you purchase through those links. We only recommend tools and services we believe are useful for beginners and content creators. Please read our Affiliate Disclosure and Privacy Policy pages to learn more about how this website works and how your information is handled.
SBSAI is a beginner-friendly blog focused on AI tools, AI prompts, blogging tips, and digital marketing strategies. We share practical guides, helpful resources, and simple tutorials to help creators and beginners use AI to create content, grow online, and build digital businesses using tools like systeme.io and chatgpt.
Newsletter
Subscribe now to get daily updates.